How to Improve Starlink Signal Strength: 2026 Guide
John's Antennas tips for fixing Starlink obstructions, weak Wi-Fi, slow speeds, and poor coverage in homes and rural properties.
How to Improve Starlink Signal Strength: 2026 Guide
Starlink can provide fast internet in places where cable and fiber may not be available. But when speeds slow down, video calls freeze, or your connection drops, it is important to figure out where the problem is before buying more equipment.
When someone says, “My Starlink signal is weak,” there are usually two very different possibilities:
- The Starlink dish does not have a clear enough view of the sky.
- Starlink is working properly, but the Wi-Fi signal inside the home is weak.
Those problems require completely different solutions.
A mesh router will not fix a Starlink dish that is blocked by trees. And moving the Starlink dish higher will not fix poor Wi-Fi coverage at the opposite end of a large house.
The best approach is to diagnose the problem first, then fix the part of the system that is actually causing it.
John's Antennas has served Central Florida since 1983. Here are the steps we recommend when troubleshooting Starlink performance.
Step 1: Check Your Starlink Dish for Obstructions
Starlink needs a wide, unobstructed view of the sky because the dish communicates with satellites moving overhead.
Trees, branches, roof peaks, chimneys, utility poles, and nearby structures can interrupt that connection.
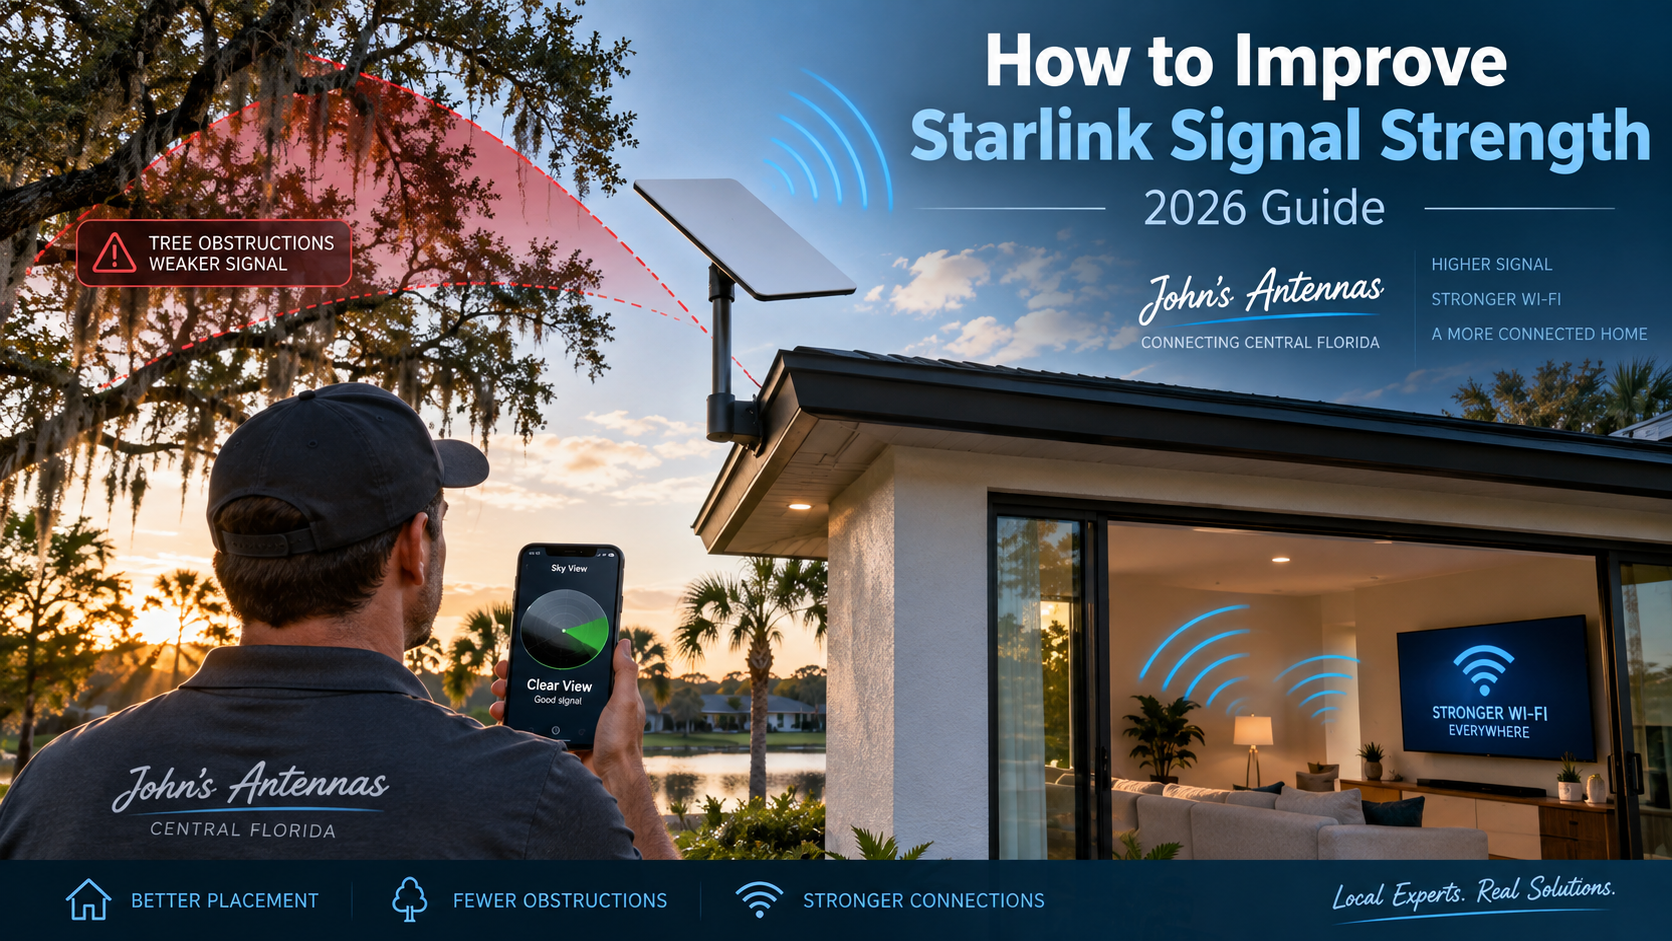
This is especially important in Central Florida, where large oak trees and heavy tree canopies can make an otherwise convenient installation location unsuitable for Starlink.
Before moving equipment or purchasing Wi-Fi extenders, open the Starlink app and use Check for Obstructions.
Follow the guided scan while holding your phone as close as practical to the height and position where the Starlink dish is or will be installed.
Don't perform the scan from ground level if the dish will ultimately be installed 20 feet higher. The view from the actual installation height can differ considerably.
Check the Actual Obstruction Map After Installation
Once Starlink has been operating, the dish can create its own obstruction map based on its actual communication with satellites.
This is more useful than guessing whether a particular tree is causing the problem.
According to Starlink, it can take up to 12 hours for a complete obstruction map to develop after the system is online.
Check the obstruction information in the Starlink app to see whether interruptions correspond with blocked portions of the sky.
What If Trees Are Blocking Starlink?
If trees or structures are blocking the required field of view, no Wi-Fi extender, mesh system or faster router can correct the problem.
The solution may be to:
- Move the Starlink dish to another part of the property.
- Install it higher on a properly supported mast or pole.
- Move it to another roof location.
- Install Starlink on a tower when you need significant height to clear surrounding trees.
This is one of the most important distinctions in Starlink troubleshooting.
If the problem is between the dish and the satellites, fix the dish location first.
For heavily wooded properties, see our guide on Installing Starlink on a Tower to Get Above Trees and Other Obstructions.
Step 2: Run the Starlink Advanced Speed Test
Before buying a mesh system or additional networking equipment, determine whether the slowdown is coming from Starlink itself or from the Wi-Fi connection between your device and the router.
The Starlink app includes an Advanced Speed Test that can help separate the two.
Depending on the current version of the app, you may see tests comparing connections such as:
- Router to Internet
- Device to Router
- Device to Internet
Here is why this matters.
Suppose Starlink is delivering a good internet connection to your router, but the speed between your phone and the router is much lower.
In that case, the satellite connection may be working perfectly.
Your Wi-Fi network is the bottleneck.
That means moving the Starlink dish probably won't help. Instead, focus on router placement, Wi-Fi coverage, mesh nodes, Ethernet, or additional wireless access points.
On the other hand, if performance between Starlink and the internet is poor and the app reports significant obstructions, start with the dish installation.
This simple test can prevent unnecessary troubleshooting.
Step 3: Improve the Location of Your Starlink Router
Router location can greatly affect Wi-Fi performance.
Even a good router will struggle if it is placed:
- Inside a cabinet.
- Behind a television.
- On the floor.
- Beside a refrigerator or other large appliance.
- Near large metal objects.
- At one extreme end of a large house.
- Behind several concrete, brick, or block walls.
Whenever practical, place the router in an open, elevated, and reasonably central location.
This is especially important in Central Florida homes built with concrete block. A Wi-Fi signal that travels easily through drywall may lose substantial strength after passing through multiple masonry walls.
Metal buildings present another challenge. Don’t expect Wi-Fi from a router inside the house to reliably reach a detached metal workshop, barn, or storage building hundreds of feet away.
That type of installation needs a different approach.
Step 4: Add Mesh Wi-Fi When You Need More Coverage
If the Starlink dish has a clear view of the sky and internet performance at the main router is good, but certain rooms have weak Wi-Fi, a mesh system may help.
A mesh network uses additional Wi-Fi nodes to extend coverage throughout the home.
But placement matters.
Don't Put a Wireless Mesh Node in the Dead Zone
This is a common mistake.
If you have almost no Wi-Fi signal in a bedroom and place a wireless mesh node there, the node may have the same problem as your phone: it cannot get a good connection back to the main router.
Instead, place the wireless node somewhere between the main router and the weak area, where the node still receives a strong connection.
Starlink generally recommends keeping wireless mesh routers within about one or two rooms of each other and placing the main router in a central location when possible.
More mesh nodes are not always better. Adding unnecessary nodes can increase wireless congestion and may actually hurt performance.
Start with the coverage problem you are trying to solve and design the network around it.
Step 5: Use Ethernet for Wired Backhaul Whenever Possible
For many homes and businesses, one of the best ways to improve Wi-Fi reliability is to connect additional access points or mesh nodes using Ethernet.
This is called wired backhaul.
Instead of using Wi-Fi to communicate with the main router, the mesh node uses an Ethernet cable to connect directly to the network.
This can provide a more stable connection and let the Wi-Fi equipment focus on serving phones, televisions, computers, and other wireless devices.
Do You Need a Starlink Ethernet Adapter?
That depends on your Starlink equipment generation.
If your system uses Starlink Router 3, the router includes Ethernet ports.
Older Standard Actuated (Gen 2) Starlink systems use a different router design and generally require the Starlink Ethernet Adapter for a wired Ethernet connection.
That is why it is important to identify your Starlink hardware before ordering adapters, routers or other networking equipment.
A wired connection does not make the Starlink satellite network itself faster. It can prevent your home Wi-Fi network from becoming the bottleneck.
Step 6: Use Wireless Access Points for Larger Homes
Mesh isn't the only way to improve Starlink Wi-Fi coverage.
In homes where you can run Ethernet cable, properly positioned wireless access points can provide excellent coverage.
This can be especially useful in:
- Large homes.
- Concrete block homes.
- Two-story homes.
- Workshops.
- Offices.
- Commercial buildings.
- Properties with outdoor entertainment areas.
A professionally designed network may use Starlink for the internet connection while separate Wi-Fi access points distribute that internet throughout the property.
The Starlink dish and the Wi-Fi network perform two different jobs.
Starlink brings the internet to the property.
Your network equipment distributes that internet around the property.
Step 7: Use a Point-to-Point Wireless Bridge for Another Building
A detached garage, barn, horse arena, workshop or second building should not automatically be treated like another room in the house.
Trying to cover several hundred feet with ordinary indoor Wi-Fi is usually not the best solution.
Instead, we often use a point-to-point wireless bridge.
A point-to-point system creates a dedicated wireless connection between two buildings. Once the connection reaches the second building, a separate wireless access point provides normal Wi-Fi inside or around that building.
For example:
Starlink → Main Router → Point-to-Point Bridge → Second Building → Wi-Fi Access Point
This is much more reliable than placing Wi-Fi extenders between buildings and hoping the signal makes it across the property.
Learn more in our guide to Point-to-Point Wireless Internet for Rural Properties.
Common Mistakes That Can Hurt Starlink Performance
Many Starlink problems come from a few common installation and networking mistakes.
Assuming Every Slow Connection Is a Starlink Problem
If Starlink is delivering good speed to the router but your phone is slow in another room, moving the dish won't solve the problem.
Check the Wi-Fi network.
Buying Mesh Equipment Before Checking for Obstructions
Mesh improves Wi-Fi coverage.
It does not remove a tree from Starlink's view of the sky.
Always check the dish connection first.
Installing the Dish Where It Is Convenient Instead of Where It Works Best
The shortest cable route or easiest roof location is not necessarily the best Starlink location.
Evaluate the required field of view before permanently mounting the dish.
Putting Mesh Nodes Too Far Apart
A wireless mesh node needs a good connection back to the primary router.
If the node itself has a weak signal, everything connected through it may also perform poorly.
Expecting Indoor Wi-Fi to Cover Detached Buildings
A strong Wi-Fi signal inside a house does not guarantee good coverage in a metal shop or barn 200 or 300 feet away.
Separate buildings may require a point-to-point bridge and their own access point.
Assuming More Equipment Always Means Better Wi-Fi
Extra mesh nodes and extenders can create unnecessary wireless traffic.
A properly designed network often performs better with fewer devices placed in the correct locations.
Trees Grow — So Recheck Older Starlink Installations
A Starlink installation that worked well a year or two ago can develop problems even though nobody touched the equipment.
Trees grow.
Branches get larger.
Seasonal foliage becomes thicker.
Storms can also move branches into parts of the sky that were previously clear.
If your Starlink service used to work well and has recently started experiencing interruptions, review the obstruction information again.
The installation may simply need to be relocated or raised.
When Should You Call a Professional Starlink Installer?
Some Starlink problems can be fixed through the app. Others require changing the physical installation or redesigning the network.
Professional help may make sense when:
- The Starlink app keeps reporting obstructions.
- Large trees surround your home.
- The dish needs to be mounted higher.
- A mast, pole or tower installation is required.
- You need Wi-Fi coverage throughout a large home.
- You have concrete block walls or unusual construction.
- You need internet to reach a detached garage, barn, or workshop.
- You want wired Ethernet or additional wireless access points.
- You need a point-to-point wireless bridge between buildings.
- You want Starlink internet and an over-the-air TV antenna system on the same property.
If climbing on a roof, tower, or elevated mast is necessary, leave that work to someone properly equipped and experienced to do it safely.
Can Starlink and a TV Antenna Be Used Together?
Absolutely.
Starlink provides your internet connection.
A television antenna receives local over-the-air television stations.
They are separate systems and can work very well together.
Many homeowners use Starlink for streaming services and internet while using a TV antenna to receive available local channels without paying a streaming provider for those broadcasts.
For more information, see our guide on How to Combine an Antenna and Streaming Services in 2026.
Frequently Asked Questions
How can I improve my Starlink signal strength?
Start by determining whether the problem is the Starlink dish connection or your Wi-Fi connection.
Use the Starlink app to check for obstructions and review your dish's obstruction information. If the dish has a clear view of the sky, use the Advanced Speed Test to determine whether Wi-Fi inside the home is causing the slowdown.
Depending on the results, the solution may involve relocating the dish, improving router placement, adding mesh Wi-Fi, installing wired access points, or using Ethernet backhaul.
Why does my Starlink keep dropping out?
One common cause is an obstructed view of the sky.
Trees, branches, buildings or other objects in Starlink's required field of view can cause interruptions as satellites move overhead.
Check the Obstructions section of the Starlink app before changing your network equipment.
If Starlink itself remains connected but individual devices lose speed or connection inside the home, the problem may instead be Wi-Fi coverage.
Will a Wi-Fi extender improve my Starlink signal?
It can improve Wi-Fi coverage, but it cannot improve the satellite signal reaching your Starlink dish.
If the dish is obstructed, correct the obstruction first.
If Starlink is working correctly at the router but Wi-Fi is weak elsewhere in the house, additional Wi-Fi equipment may help.
Can I use mesh Wi-Fi with Starlink?
Yes.
Mesh Wi-Fi can be useful in larger homes or buildings where one router cannot provide adequate coverage.
Place wireless mesh nodes where they can still maintain a strong connection to the main router. If Ethernet wiring is available, wired backhaul can provide an even more reliable connection.
Does Starlink Router 3 need an Ethernet adapter?
Router 3 has built-in Ethernet connectivity, so you don't need a separate Starlink Ethernet Adapter to get an Ethernet connection from that router.
Older Gen 2 or Standard Actuated Starlink systems use different hardware and generally require the Starlink Ethernet Adapter when you need a wired Ethernet connection.
Always identify your Starlink hardware before ordering networking accessories.
Can Starlink reach a barn or workshop?
Sometimes Wi-Fi will reach a nearby structure, but for longer distances or metal buildings, a point-to-point wireless bridge is usually a better approach.
The bridge carries the Starlink internet connection from the main building to the second building. A separate Wi-Fi access point can then provide wireless coverage there.
Will putting my Starlink dish higher improve performance?
Only if additional height gives the dish a clearer required field of view.
Installing Starlink higher just for the sake of height does not automatically make the service faster.
However, on wooded properties, raising the dish above trees or other obstructions can make a major difference.
Some difficult properties may require a mast, pole or tower installation to obtain a usable view of the sky.
Improve the Right Part of Your Starlink System
When Starlink isn't performing as expected, don't automatically start buying routers, mesh nodes, and Wi-Fi extenders.
First, determine where the problem is.
If trees or buildings are obstructing the Starlink dish, correct the installation.
If Starlink is delivering a good connection to the router but Wi-Fi is weak inside the home, improve the network.
If you need Starlink internet in another building, consider a point-to-point wireless bridge instead of trying to stretch ordinary Wi-Fi across the property.
John's Antennas has served Central Florida since 1983. We provide professional Starlink installation, difficult mounting solutions, tower installations, Wi-Fi network distribution, point-to-point wireless systems, TV antennas, and other signal solutions.
Need help determining why your Starlink isn't performing properly? Contact John's Antennas for an evaluation of your property and Starlink installation. We can help determine whether the problem is the dish location, obstructions, Wi-Fi coverage, or network distribution—and recommend the right solution instead of simply adding more equipment.